How to Update WordPress Manually via FTP
In this guide, we will explore the process of upgrading WordPress manually using FTP.
Download WordPress
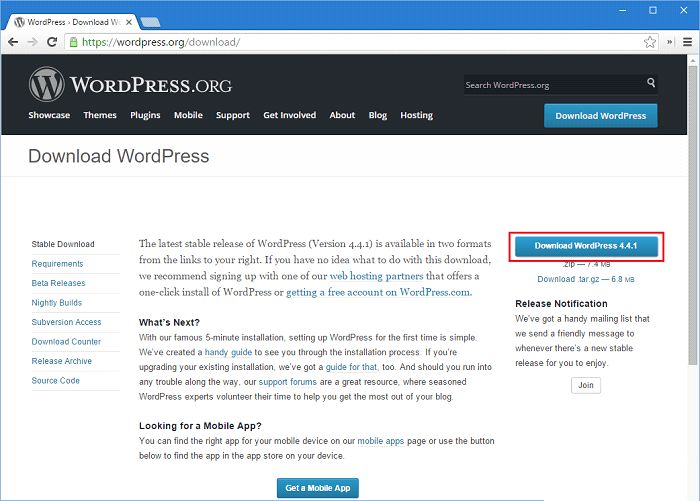
Download the most recent WordPress release files from the WordPress website to your PC.

Extract WordPress files
Extract the compressed file that you just downloaded to a location on your PC.
Locate the files in your FTP client
Open FileZilla, or another FTP client of your choice and navigate to the directory where you saved the WordPress files.
Login via FTP
Sign into your web space using FTP.
Delete two directories
Delete these directories from your web space:
wp-includes
wp-admin
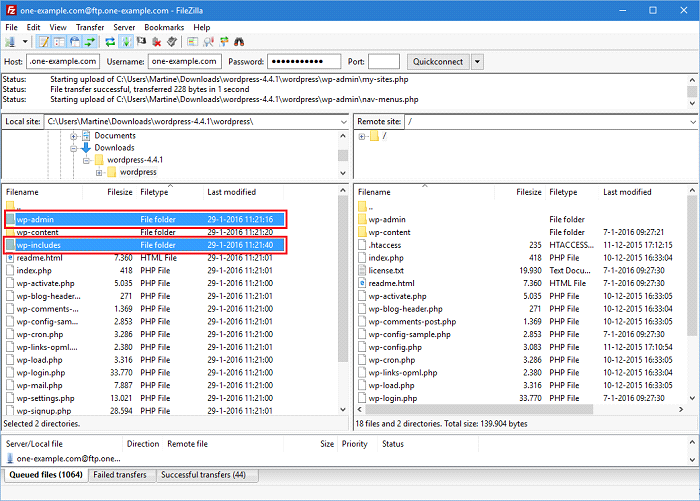
Upload the directories
Transfer the directories wp-includes and wp-admin from your PC to your web space, replacing the ones you just deleted.

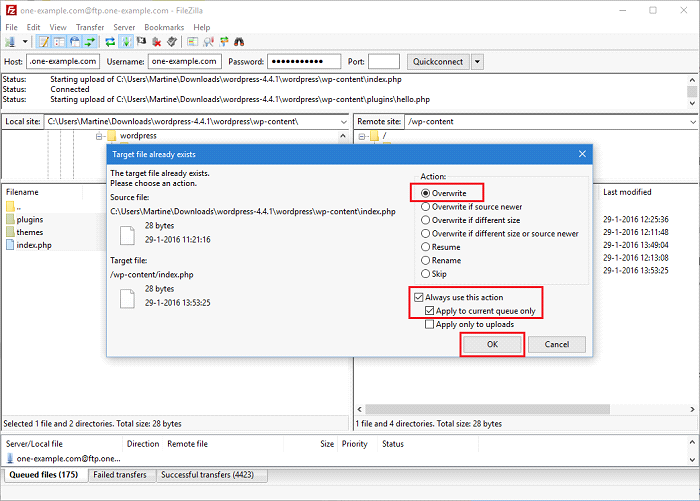
Overwrite files in wp-content
Open wp-content and upload the files and folders in this directory from your PC to the corresponding folder in your web space. You overwrite the existing files, but retain any other files and folders that are there.
Note: The wp-content directory contains your plugins and themes so be sure not to delete any files and folders that are already there!

Upload individual files
Upload all individual installation files that are not in a folder from your PC to your web space, replacing the existing files.
WordPress upgraded!
You have now completed a manual upgrade of WordPress.
If you have upgraded to a newer WordPress version, you may need to rebuild your database. If so, you will be prompted to do so when you sign into WordPress.
If you need any further assistance please contact our support department.

